Pair WiFi Strip/Smart Outlet
Adding a WiFi Outlet is simple.
TIP: To avoid unnecessary frustrations, PLEASE follow the instructions in the EXACT order as described below!
WARNING: The HYDROS WiFi Strip and Smart Outlet are NOT IP65 rated, so proper mounting is essential to protect them from water damage. Always permanently mount the device to an elevated wall or side panel using the integrated mounting bracket, keeping it well away from any splashing water. Never place the unit on the floor where it could get wet. To further safeguard your device, ensure all connected cables have proper drip loops to prevent water from running into the connections.
What you need to get started:
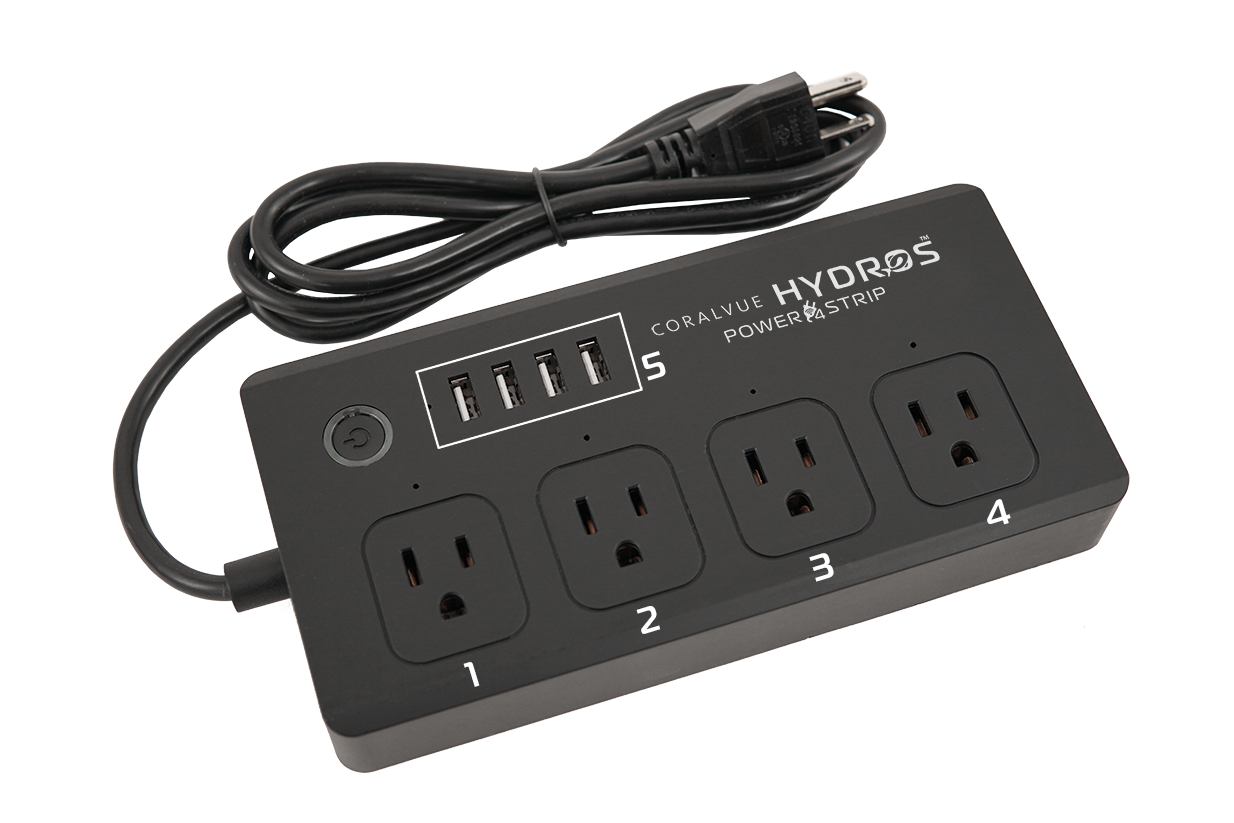
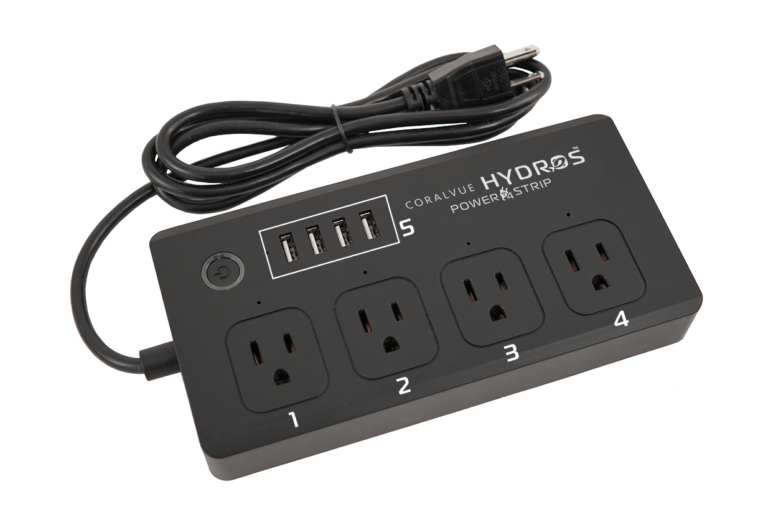
- A HYDROS WiFi strip or HYDROS WiFi Single outlet
- A HYDROS Controller
- Control X4, Control X2, Control XP8, Control XS, WaveEngine V2
Step 1: Add the WiFi Device to the HYDROS app
WARNING: DO NOT connect the outlet to power YET!!!!! If you do, the pairing will FAIL.
- From the Status screen, tap on the three horizontal dots to the right of the WiFi Devices label.
- Select “Add New WiFi Device”
- Enter the name you wish to assign to the ENTIRE power strip (not just each outlet) and hit “Continue.”
- STOP and proceed to Step 2 below
Step 2: Connect WiFi Strip to power
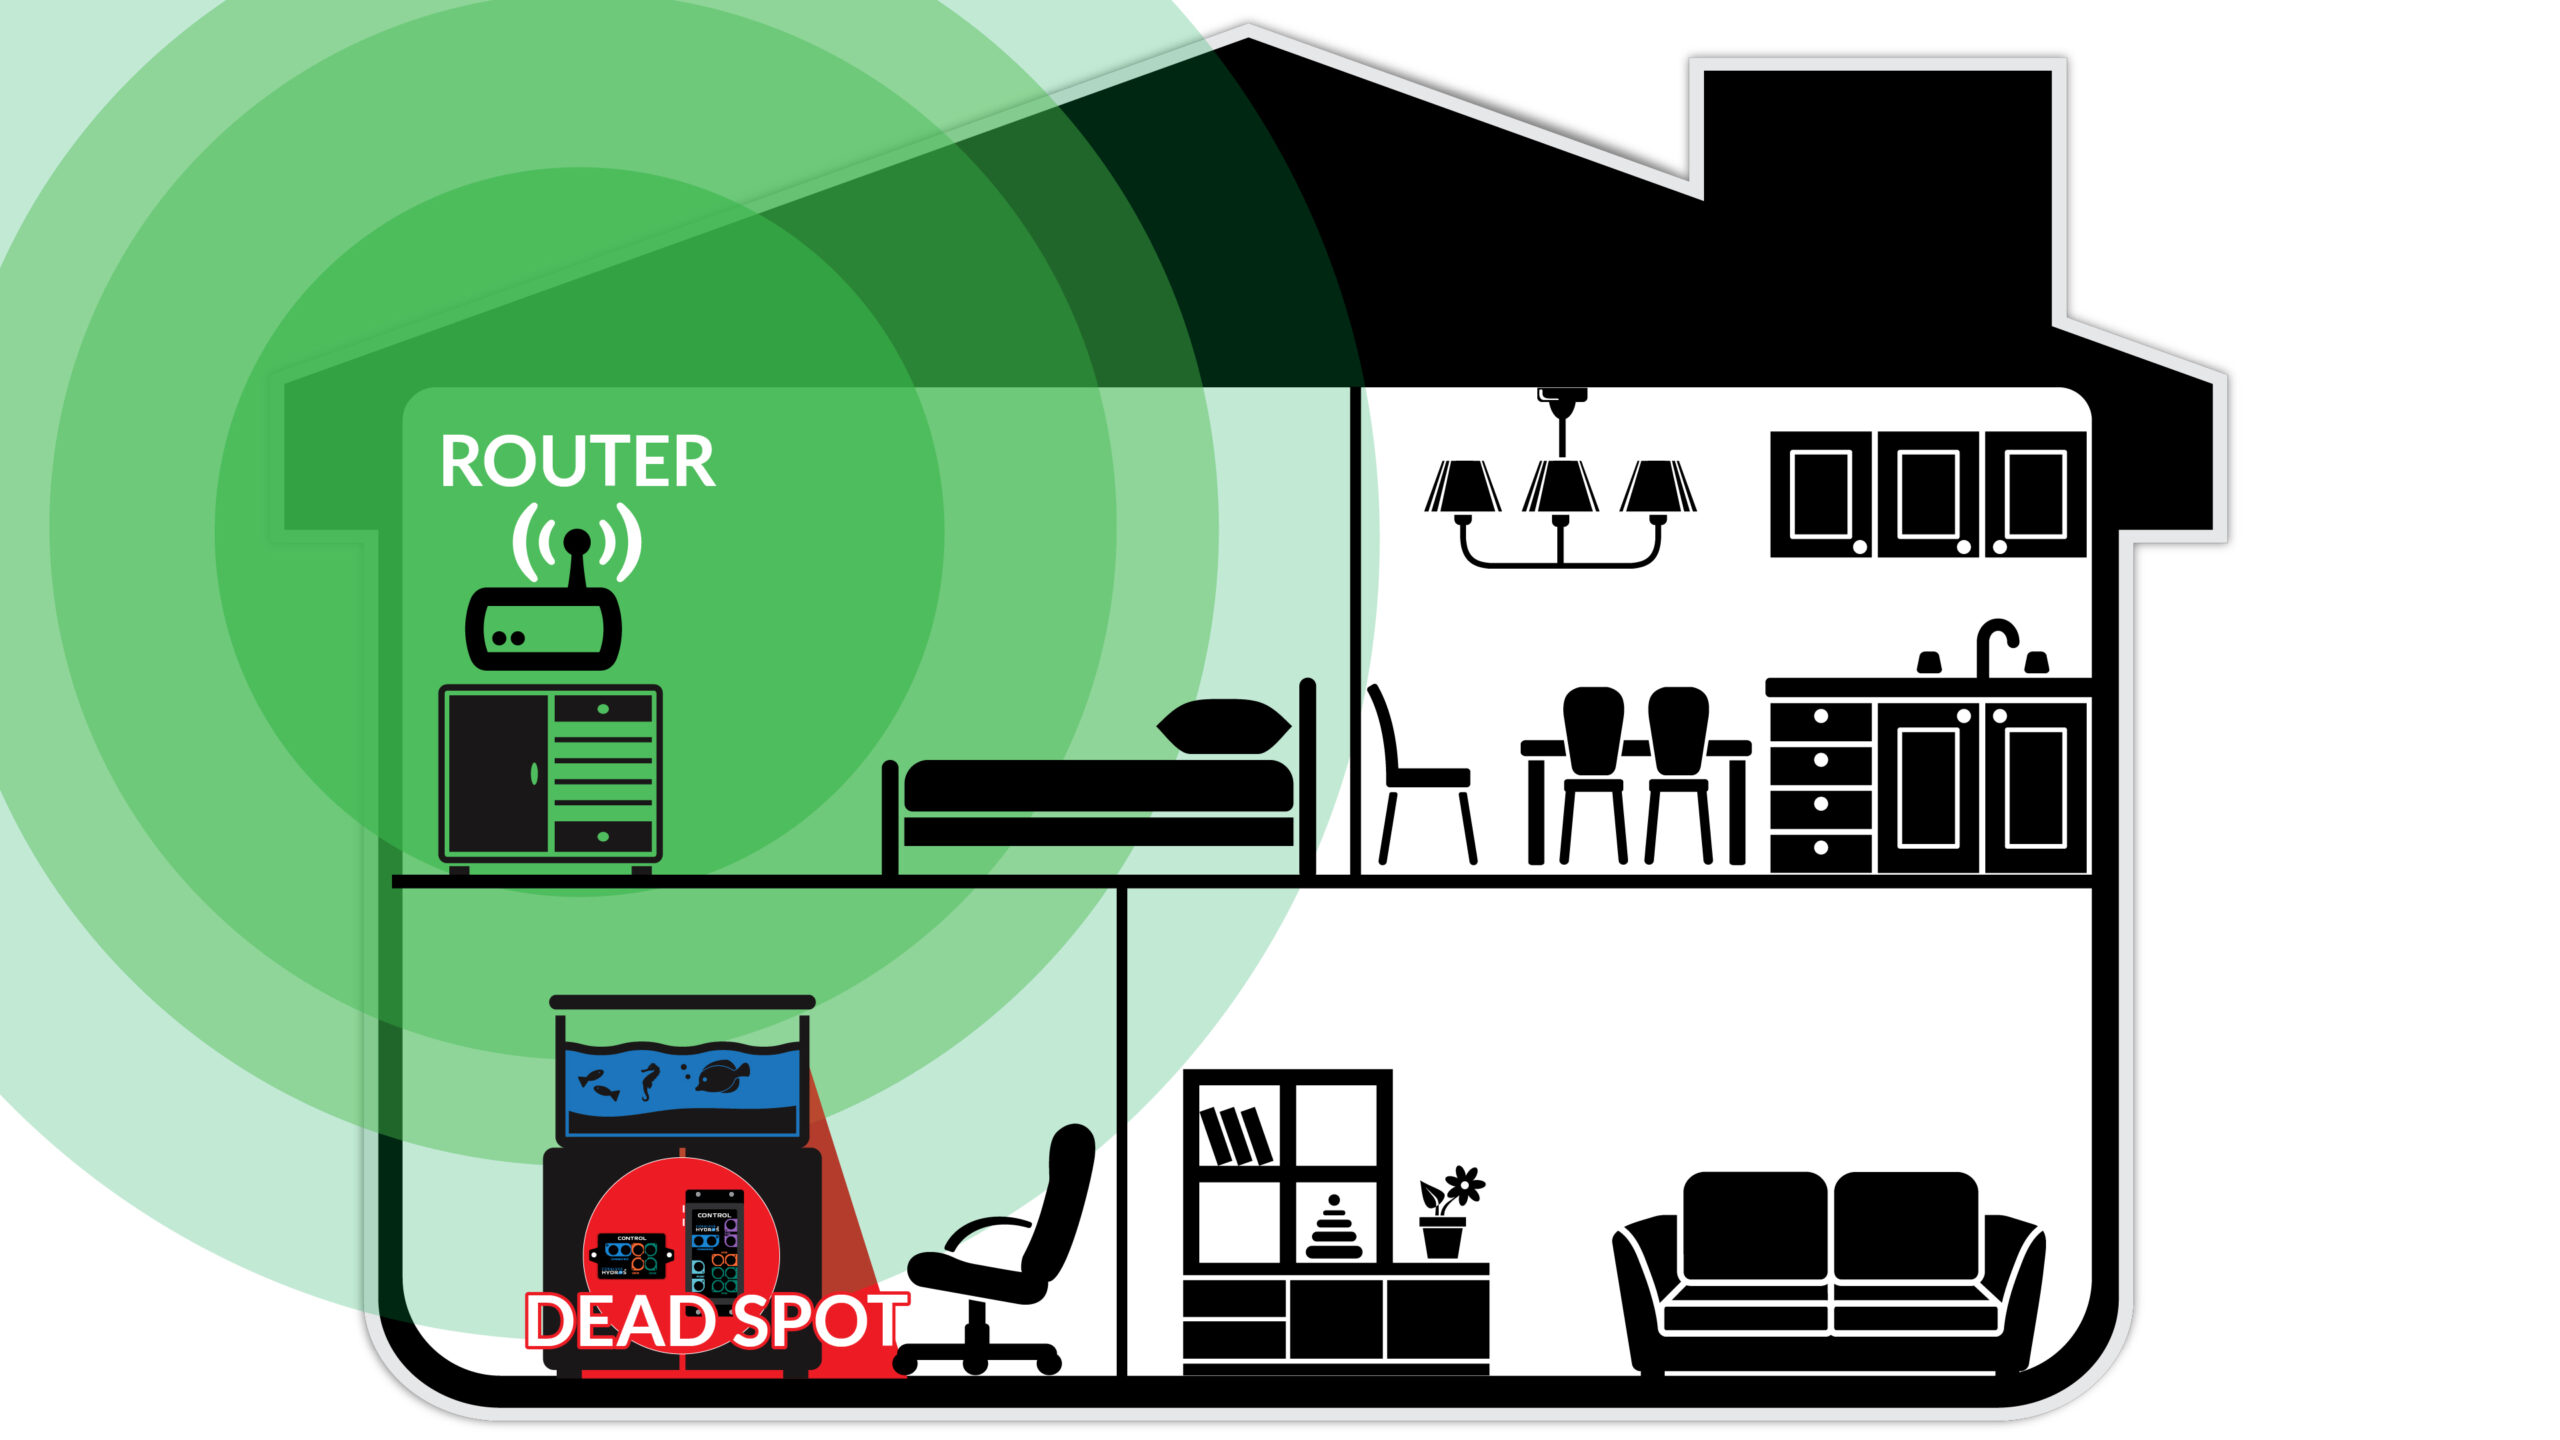
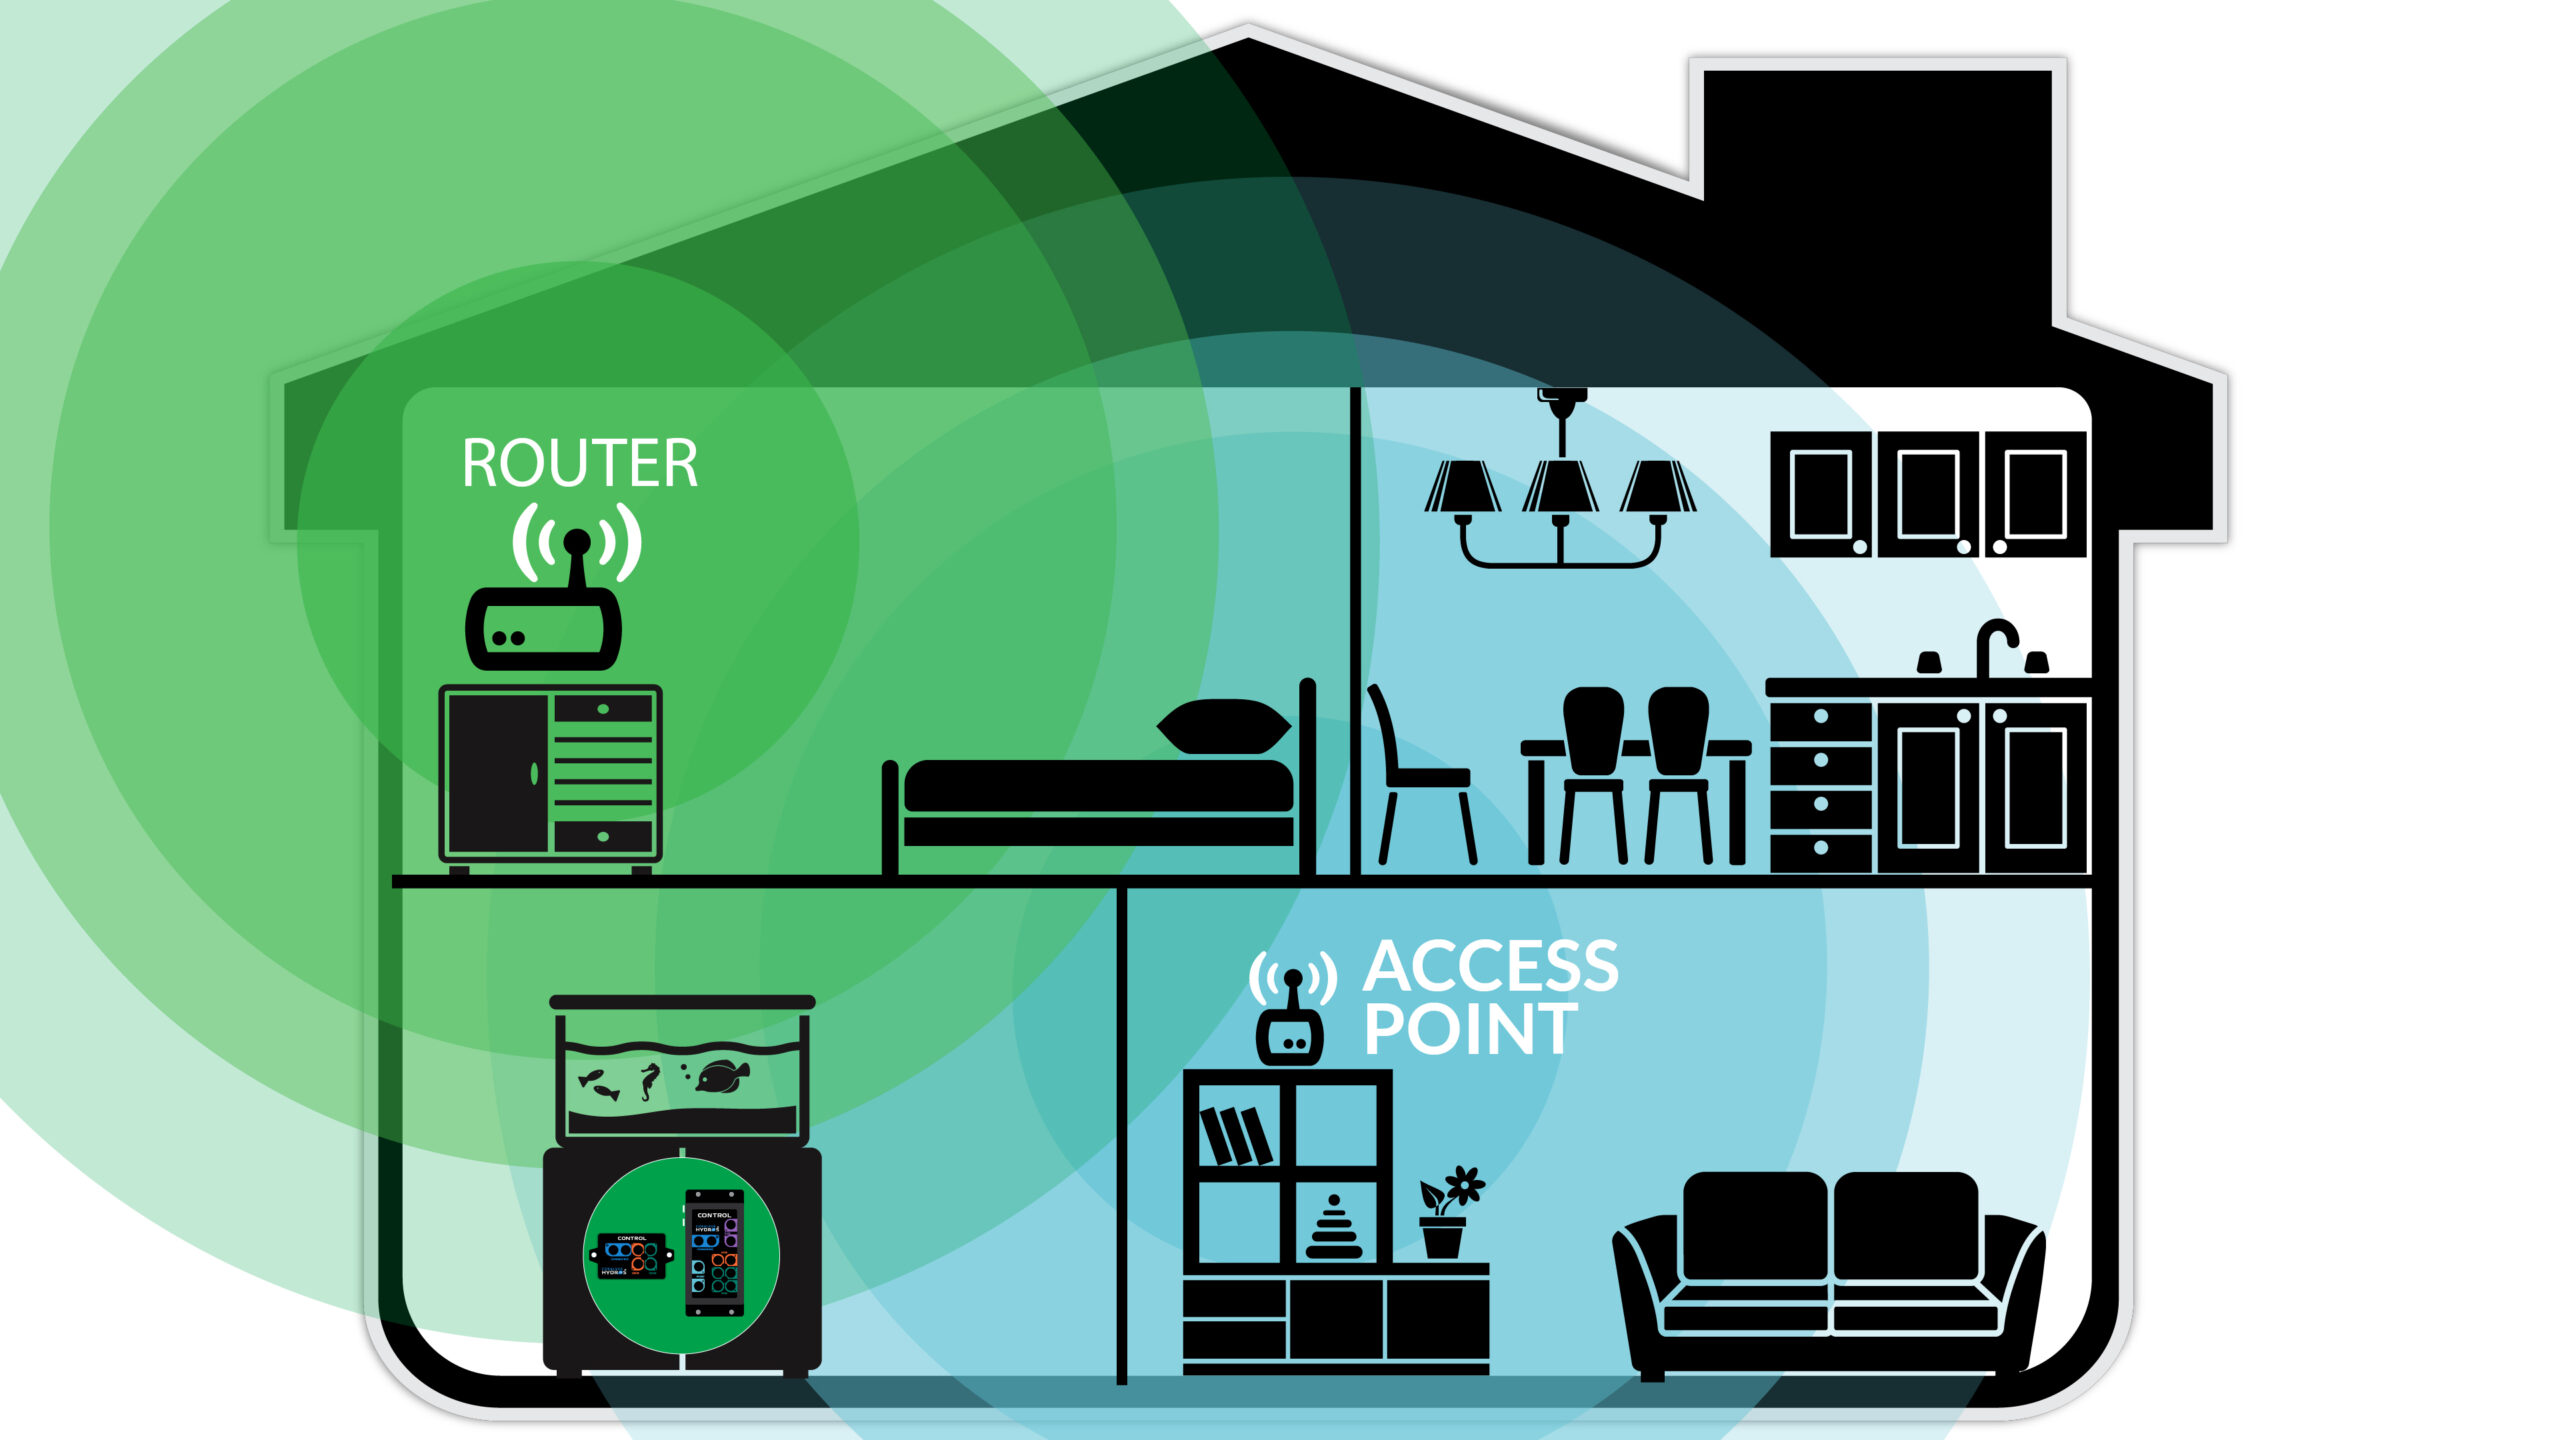
Remember that WiFi CAN NOT travel through the water when installing the WiFi strip. Therefore, if you draw a straight line between your WiFi strip and your router, there SHOULD NOT be any body of water directly in the path. If there is, WiFi will not get through the water, creating a dead spot behind the body of water.
- NOW connect the power strip to power AND ensure that the power light on the strip is blinking (< 1-second blinks). Please refer to Appendix B below if the power button does not blink.
WARNING: The power button on the WiFi strip must be blinking fast (more than a blink per second.) If the power button starts to blink slowly (less than a blink per second), press and hold the power button again until the blink pattern speeds up.
- Go back to the app and Hit “Continue.” Next, the Control scans your surrounding areas to find the power strip (This process can take up to 1 minute). When complete, the power strip power button stops blinking and turns solid RED.
Step 3: Configure the WiFi Strip
- TYPE: This allows you to select the type of WiFi Strip you are connecting to Control
- Single Outlet – This is the Smart WiFi Outlet
- Quad Outlet Strip – The WiFi strip with four different outlets and one group of USB ports
- WiFi Feeder – Upcoming accessory
- NOTIFICATION LEVEL: This allows you to set the level of notification in case the Control is unable to communicate with the WiFi strip
- REPLACE WIFI DEVICE: If you plan to replace the WiFi strip with a new one physically. This feature saves you the process of reassigning outputs.
TIP: You can also use this feature to re-attach a disconnected WiFi strip. You CAN replace a WiFi strip with itself and save you the trouble of reassigning outputs! For instructions, see Appendix C below.
- Tap on Upload to save your changes
Troubleshooting: Strip Switches OFF Automatically After Pair
This is normal. Once the strip is paired with the Controller, it automatically turns OFF all outlets until you program an Outlet on the Control unit.
If you manually press the power button to switch ON the strip, the HYDROS Controller will switch it off within a few seconds. However, since you do not have any Outputs created, the Controller has no reason to turn the outlets ON.
Appendix A: Pairing failed
If the process fails or stalls, please do the following:
- Close the app entirely on your mobile device
- Disconnect the power strip from the power
- Restart your router and access point if you have one. Wait until you can browse the internet again.
- Manually restart your HYDROS Control units
- Start the setup process again
Appendix B: The powerstrip power button does not blink
- Press and hold the power button for a few seconds until the light start to blink (< 1-second blinks)
Appendix C: Replace a WiFi Strip
HYDROS makes it extremely easy to replace a WiFi strip without reprogramming every single output attached to the strip. HYDROS allows you to perform a seamless swap!
WARNING: You can only replace a WiFi strip with another strip of the same type.
Here are some reasons why you might want/need to replace a WiFi strip:
- The current WiFi strip is no longer working
- The current WiFi strip lost WiFi connection (the power button is red/blue or blinking blue)
- The WiFi credentials have changed and need updating.
To RE-PAIR your WiFi strip:
- From the STATUS screen, tap on the tile/name of the WiFi strip you wish to replace
- Tap on the “Replace” button
- Unplug the WiFi strip from power and hit “Continue” on the app
- Connect the WiFi strip to power and hit “Continue” on the app
- Press and hold the power button on the WiFi strip until the button blinks blue, then hit “Continue.”
WARNING: The power button on the WiFi strip must be blinking fast (more than a blink per second.) If the power button starts to blink slowly (less than a blink per second), press and hold the power button again until the blink pattern speeds up.
The Control will scan your surrounding areas to find the power strip, which can take up to 1 minute. When complete, the power strip power button stops blinking and turns solid RED.
- Hit “Continue” and then upload your changes.
To REPLACE your WiFi strip:
- Transfer all the connections from the OLD to the NEW WiFi strip
- From the STATUS screen, tap on the tile/name of the WiFi strip you wish to replace
- Tap on the “Replace” button and hit “Continue.”
- Connect the NEW WiFi strip to power and hit “Continue” on the app
- Press and hold the power button on the NEW WiFi strip until the button starts blinking blue, then hit “Continue.”
WARNING: The power button on the WiFi strip must be blinking fast (more than a blink per second.) If the power button starts to blink slowly (less than a blink per second), press and hold the power button again until the blink pattern speeds up.
The Control will scan your surrounding areas to find the power strip, which can take up to 1 minute. When complete, the power strip power button stops blinking and turns solid RED.
- Hit “Continue” and then upload your changes.
- Disconnect the OLD WiFi strip as you no longer need it