 [1]
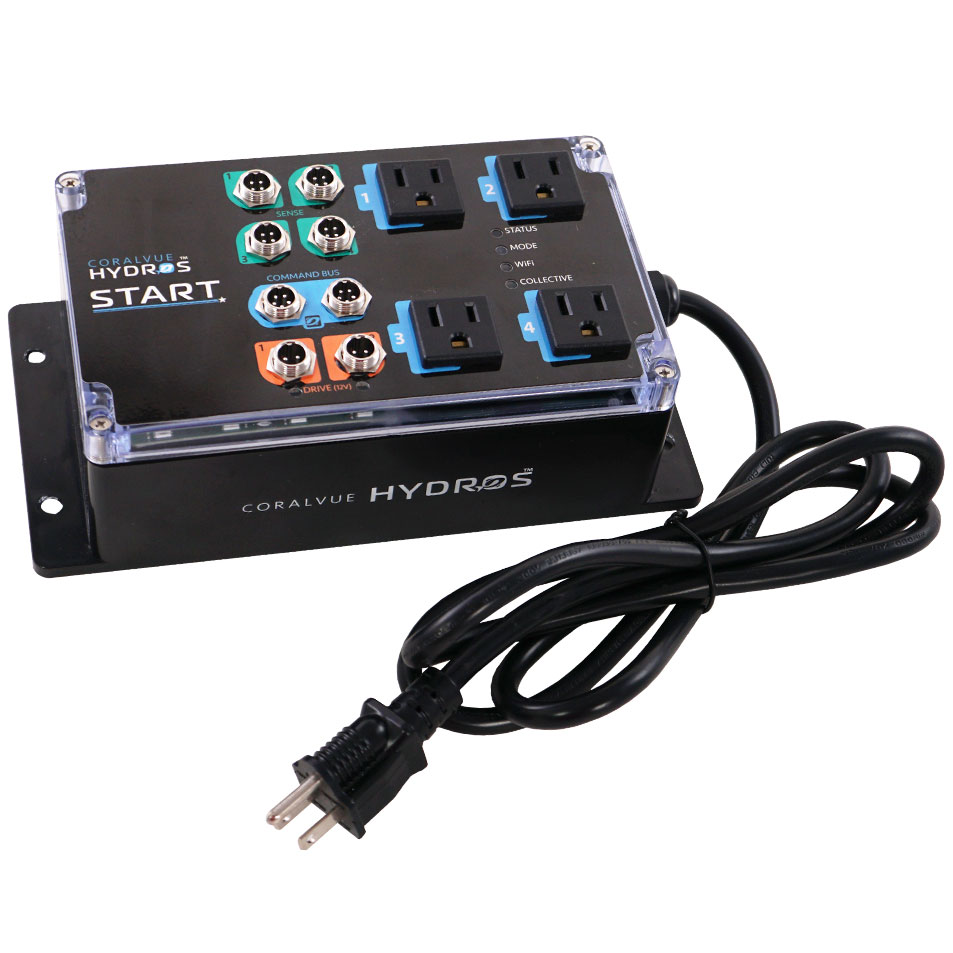
[1]Device Features
- Sense Ports (Green): 4
- Command Bus Ports (Blue): 2
- 12V Drive Ports (Orange): 2
- Max Load: 2.5A each, 4A all ports.
- 120V AC Outlets: 4
- Max Load: 8A each.
Important Information:
- Max Total Load: 14A
- WiFi Compatibility: 2.4GHz ONLY
- IP Rating: 30 (dustproof ONLY – NOT waterproof)
- Mounting Bracket: Yes
WARNING: Mount the device permanently to an elevated wall or side panel. NEVER place the unit on the floor. Ensure all cables have proper drip loops. - Warranty: 1-Year Limited
Step 1: Register the Device
- Download [2] the HYDROS app from the Apple App or Google Play Store.
- Please follow the instructions here [3] to connect your device to WiFi and register it.
Step 2: Update the Firmware (if needed)
- Firmware updates are released frequently, and your device may not have the latest version installed. If your device requires a firmware update, please install it before you begin configuring it. You can follow the instructions here [4] to update your device firmware.
Step 3: Add to Collective (optional)
Q: What is a Collective?
A: HYDROS devices can link up to form one seamless system! This means you won’t need to manage and adjust each individual device. The HYDROS app will gather all your sensors, probes, force, drive, and 0-10V ports together, making it easy to configure and control them as a unified presence!
Q: This is my first and only device. Do I need to create a collective?
A: No, you don’t need to! We totally get that upgrade itch, and when you purchase your next HYDROS device, the fun begins! You can start by creating a collective with your first device and then quickly add your second device immediately after. It’s all about making your setup just the way you like it!
- This is my first device! I want to LEARN MORE and CREATE a collective!
HYDROS Collective 101 [5] - I already created a collective. I want to ADD this device to my EXISTING collective!
Add a Device to an Existing Collective [6]
Step 4: Configure your Device
Now that you have completed the Start registration and can view the status screen, it is time to start configuring it.
- Sense Ports: Please refer to the “Inputs/Sensors [7]” section of the online instructions.
- Drive Ports, AC Outlets: Please configure the “Outputs [8]” section of the online instructions.
TIP: All Drive and AC ports are off by default. You must create an OUTPUT to create logic that automatically turns them on and off.